How To Assemble An AR-15 Lower Receiver: A Step-by-Step Guide

01/2025
???? 3 mins

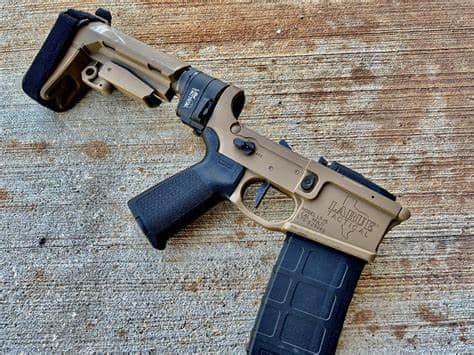
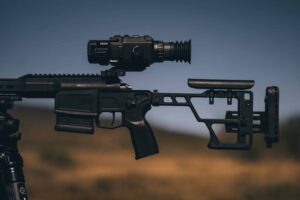
Assembling your own AR-15 lower receiver is a rewarding experience that allows for customization and a deeper understanding of your firearm. This guide will walk you through the process, covering all the necessary parts, tools, and step-by-step assembly instructions. All parts mentioned can be found at Chesapeake Gunslingers, your trusted source for firearm components.


Why Assemble Your Own AR-15 Lower Receiver?

  • Customization – Choose the trigger, grip, and other components that best suit your needs.
  • Cost Savings – Assembling your own lower receiver can often be more affordable than purchasing a complete one.
  • Knowledge & Maintenance – Understanding how the lower receiver functions will make repairs and upgrades easier in the future.

Parts Needed for Your AR-15 Lower Receiver

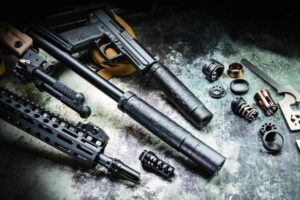
To assemble your AR-15 lower, you’ll need the following components:


Recommended Tools for Assembly

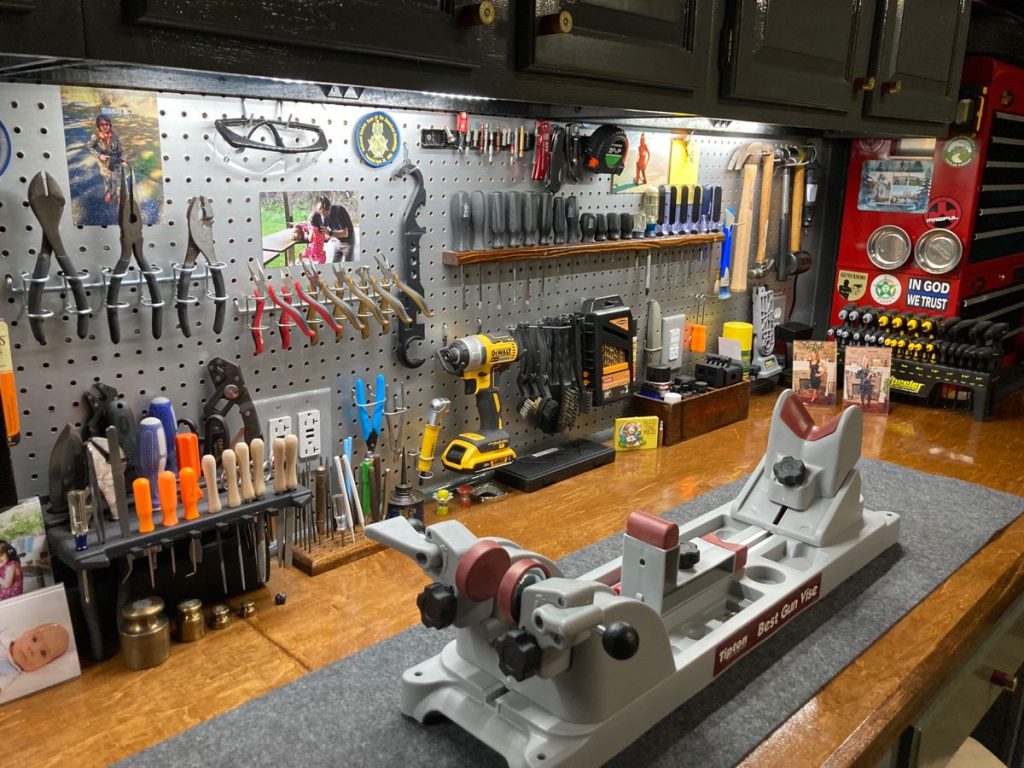
Having the right tools makes assembly much easier and ensures a properly functioning firearm. Here’s what you’ll need:

  • Armorers Wrench – For installing the buffer tube and castle nut.
  • Punch Set – Helps with installing pins without damaging components.
  • Small Hammer – Assists in seating roll pins.
  • Needle-Nose Pliers – Useful for handling small springs and detents.
  • Hex Wrenches – Some grips and triggers require Allen keys.
  • Bench Block – Helps keep the lower receiver steady while working.
  • Torque Wrench – Ensures proper tightness of key components.
  • Blue Loctite – Prevents screws from loosening over time.

Step-by-Step Assembly Instructions

Step 1: Install the Magazine Catch

  1. Insert the magazine catch into the left side of the lower receiver.
  2. Place the spring over the catch’s threaded post.
  3. Screw the magazine button onto the post from the right side.
  4. Use a punch to press the button while tightening the catch.

Step 2: Install the Bolt Catch

  1. Insert the bolt catch spring and plunger into the lower receiver.
  2. Align the bolt catch and secure it with the roll pin using a punch and hammer.
  3. Ensure smooth operation by pressing and releasing the bolt catch.

Step 3: Install the Takedown Pins

  1. Insert the front takedown pin and its detent and spring.
  2. Repeat for the rear takedown pin.
  3. Use needle-nose pliers to hold the spring and detent while sliding the pin into place.

Step 4: Install the Trigger Assembly

  1. Insert the trigger spring and drop the trigger into the lower receiver.
  2. Align the holes and insert the trigger pin.
  3. Repeat with the hammer assembly, ensuring proper spring orientation.
  4. Test trigger reset and function.

Step 5: Install the Safety Selector & Grip

  1. Insert the safety selector into the receiver.
  2. Place the safety detent and spring into the hole in the grip.
  3. Attach the grip, securing the spring inside.
  4. Tighten the grip screw and ensure proper safety function.

Step 6: Install the Buffer Tube & Stock

  1. Screw the buffer tube into the receiver, ensuring the buffer retainer and spring are in place.
  2. Tighten the castle nut using an armorer’s wrench.
  3. Insert the buffer spring and buffer into the tube.
  4. Attach your chosen stock or brace.

Final Function Check

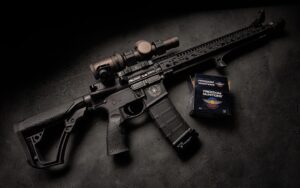
After assembly, ensure everything operates correctly:

  • Test the trigger reset and safety selector.
  • Insert a magazine and check for proper release.
  • Pull the charging handle and test the bolt catch.

At Chesapeake Gunslingers, we’re committed to providing top-quality firearms, ammunition, and accessories at competitive prices. Whether you’re a seasoned shooter or just getting started, our team is here to help with expert advice and top-tier service.

Have questions or need assistance? Contact us today!

???? Phone: 443-504-3735
???? Website: www.chesapeakegunslingers.com

Shop with confidence—fast, reliable shipping and exceptional customer service guaranteed!

Share with:
Related posts
More about Blogs
<?php

// Get the current post's categories
$post_categories = get_the_category();

// Find the parent category of the current post's categories
$parent_category = null;
foreach ($post_categories as $category) {
    if ($category->parent == 0) {
        $parent_category = $category;
        break;
    }
}

// Get the children categories of the parent category
if ($parent_category) {
    $args = array(
        'parent' => $parent_category->term_id, // Get children categories of the parent category
        'hide_empty' => 0,                     // Get categories even if they have no posts
    );

    $children_categories = get_categories($args);

    // Prepare an array to hold the children category IDs
    $children_category_ids = array();

    // Loop through each child category and add its ID to the children array
    foreach ($children_categories as $child_category) {
        $children_category_ids[] = $child_category->term_id;
    }

    add_filter('bricks/terms/query_vars', function ($query_vars, $settings, $element_id) use ($children_category_ids) {
        // Get only the children categories of the current post's parent category
        if ($element_id == 'jnniub') {
            $query_vars['include'] = $children_category_ids;
        }
    
        return $query_vars;
    }, 10, 3);
}

?>
Welcome to Chesapeake Gunslingers, in order to browse our site you must be at least 18 years of age.
Are you at least 18 years old?
No
Your Cart

No products in the cart.